Introduction
Do you want to make your Windows 11 Terminal look modern, professional, and stylish?
In this guide, you'll learn how to transform the default Windows Terminal into a beautiful and productive development environment using Oh My Posh, Nerd Fonts, custom color schemes, transparency effects, and Fastfetch.
If you prefer watching instead of reading, here's the full video guide: Watch the video on YouTube
Requirements
Step 1 - Installing Windows Terminal
Before customizing your terminal,
- Go to Microsoft Store
- Search for "Windows Terminal"
- Select the official Microsoft application
- Click Install
Alternatively, you can go to this link: https://apps.microsoft.com/detail/9n0dx20hk701?hl=en-US And install the Terminal from there
Make sure the WinGet CLI is also installed.
Step 2 - Installing Oh My Posh
Open the Windows Terminal and type:
winget install JanDeDobbeleer.OhMyPosh --source wingetAlternatively:
- Go to the Official GitHub repo of Oh My Posh: https://github.com/JanDeDobbeleer/oh-my-posh
- Open the Releases section
- Download the installer:
install-x64.msi - Run the Oh My Posh installer (
install-x64.msi) to install Oh My Posh
Once it's installed, switch to the PowerShell and type:
oh-my-posh init pwsh | Invoke-ExpressionTo test the command and verify if Oh My Posh is installed.
 PowerShell after enabling Oh My Posh.
If you use
oh-my-posh init pwsh --eval | Invoke-ExpressionIt might work as a fallback option, but the --eval option makes the initialization slower.
Make sure to open PowerShell as Administrator and type:
Set-ExecutionPolicy -ExecutionPolicy RemoteSigned -Scope LocalMachineTo run local scripts if the Oh My Posh initialization command returns error
Use:
winget upgrade JanDeDobbeleer.OhMyPosh --source wingetTo upgrade Oh My Posh
Once Oh My Posh works, up next is configuring Oh My Posh inside the PowerShell.
Step 3 - Configuring Oh My Posh in PowerShell
- Create a new profile:
New-Item -Path $PROFILE -Type File -Force - Open the Profile with notepad:
notepad $PROFILE - Add the following command inside the profile:
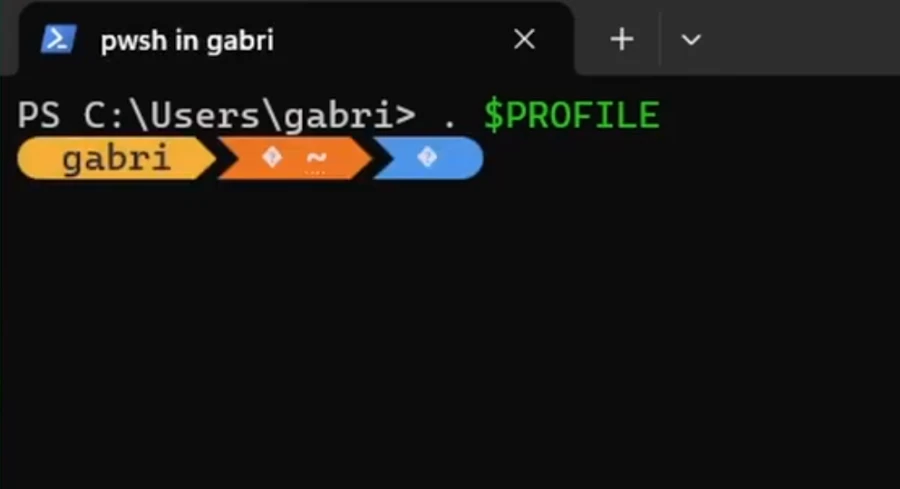
oh-my-posh init pwsh | Invoke-Expression - Save the file, close Notepad, and refresh the profile by typing:
. $PROFILE
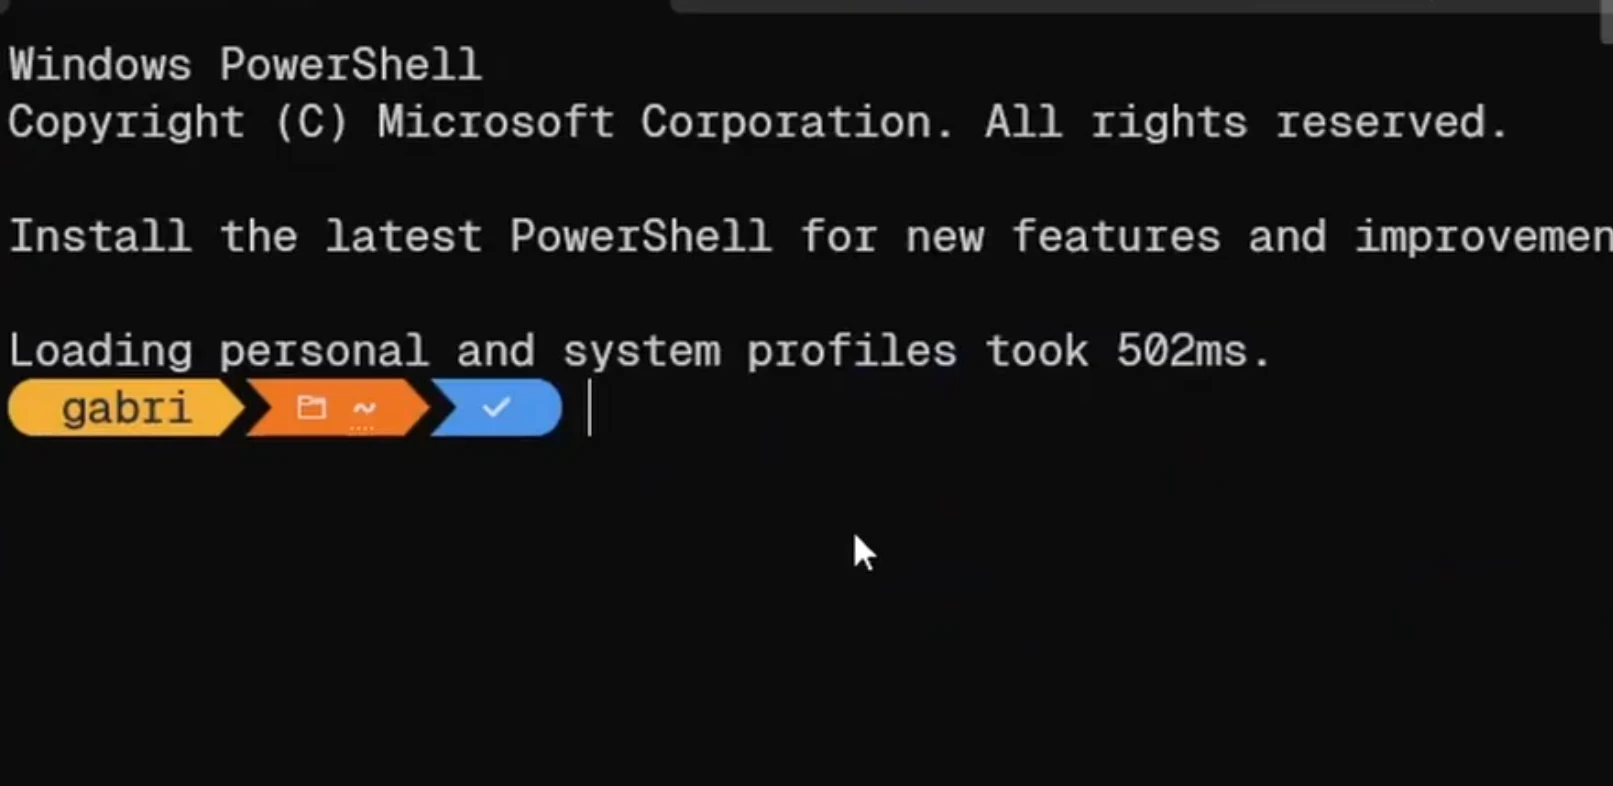 Oh My Posh loaded automatically from the PowerShell profile.
Once it's initialized every time you start PowerShell, let's install Nerd fonts!
Step 4 - Installing Nerd Fonts
- Go to the official Nerd Fonts download page: https://www.nerdfonts.com/font-downloads
- Choose a font such as Fira Code Nerd Font or Geist Mono Nerd Font, then download it.
- Once you've downloaded the Nerd Font, extract the downloaded Nerd Font archive.
- Select all fonts inside the extracted folder.
- Copy them and paste into
C:\Windows\Fonts. - Open Terminal, Go to the Dropdown menu → Settings → Defaults → Appearance
- Change the Font Face option to the preferred installed Nerd font (Recommended: Mono version)
- Save these new settings
The icons will be visible once you use the nerd font as the Terminal font.
Step 5 - Changing the color scheme
Unlike the Windows 10 Terminal Tutorial guide, changing the color scheme here is easier.
- Open Terminal, Go to the Dropdown menu → Settings → Defaults → Appearance
- Change the Color scheme to the preferred color scheme
If the preferred color scheme is not here
- Go to the website for Windows Terminal Color Schemes: https://windowsterminalthemes.dev/
- Find the preferred color scheme.
- Once you found it, Click on Get Theme.
- Go to Terminal → Settings → Color Schemes
- Click on "Open JSON File"
- Paste the Color scheme inside the
"schemes"property of the JSON file. - Save the JSON file and close the editor
- Go to Terminal → Settings → Defaults → Appearance
- Choose the recently added color scheme, and save it
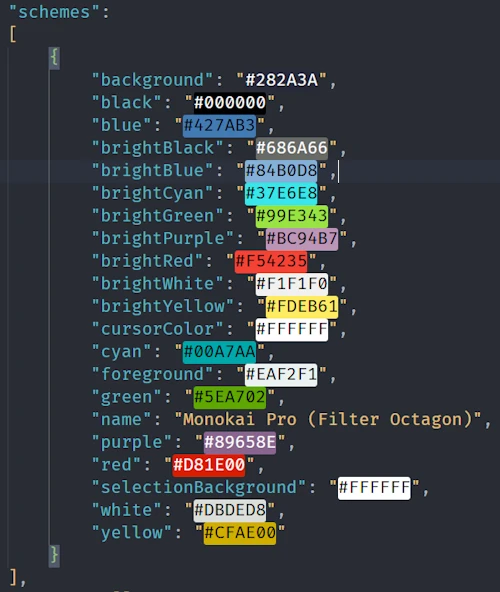 Example Monokai Pro (Filter Octagon) color scheme.
Step 6 - Changing the Prompt design
- Go to Oh My Posh themes page: https://ohmyposh.dev/docs/themes
- Find the preferred theme
- Once you found it, open the PowerShell profile:
notepad $PROFILE - Add the
-cconfiguration inside the initialization command:- oh-my-posh init pwsh | Invoke-Expression + oh-my-posh init pwsh -c "$env:POSH_THEMES_PATH/<theme>.omp.json" | Invoke-Expression - Save the file, close Notepad, and refresh the profile:
. $PROFILE
<theme>- Any Oh My Posh theme (example: atomic)
If POSH_THEMES_PATH didn't exist:
- Go to the Official GitHub repo of Oh My Posh: https://github.com/JanDeDobbeleer/oh-my-posh
- Open the Releases section
- Download themes
- Extract into
C:\Users\<username>\themesor your preferred path (e.g.D:\User\themes). Basically, unzipping as a folder with files - Once it's extracted, search for "env" and click on "Edit the system environment variables"
- Click on "Environment Variables" and create a new environment variable
- Name:
POSH_THEMES_PATH - Path: Preferred theme path (e.g.
D:\User\themesorC:\Users\<username>\themes)
- Name:
- Click OK, OK, and OK, Restart the terminal, and your preferred theme will appear.
Step 7 - Configuring Oh My Posh in Command Prompt
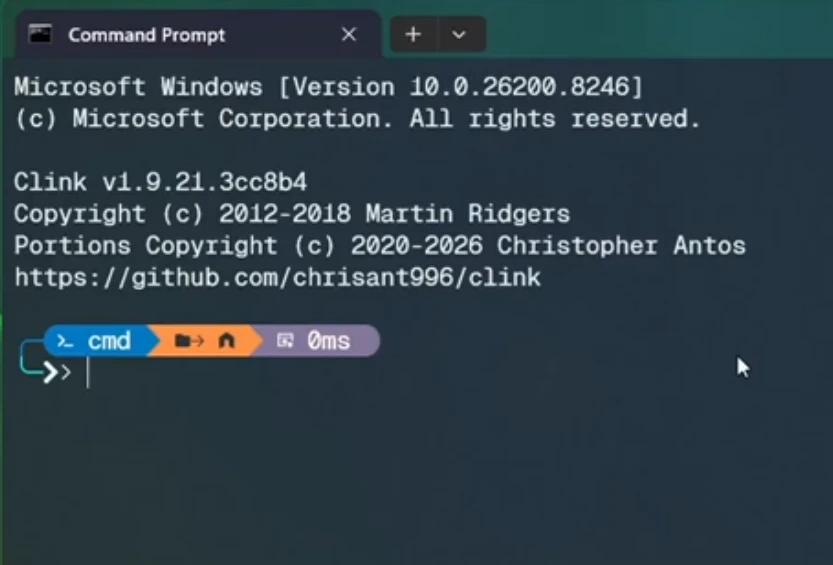
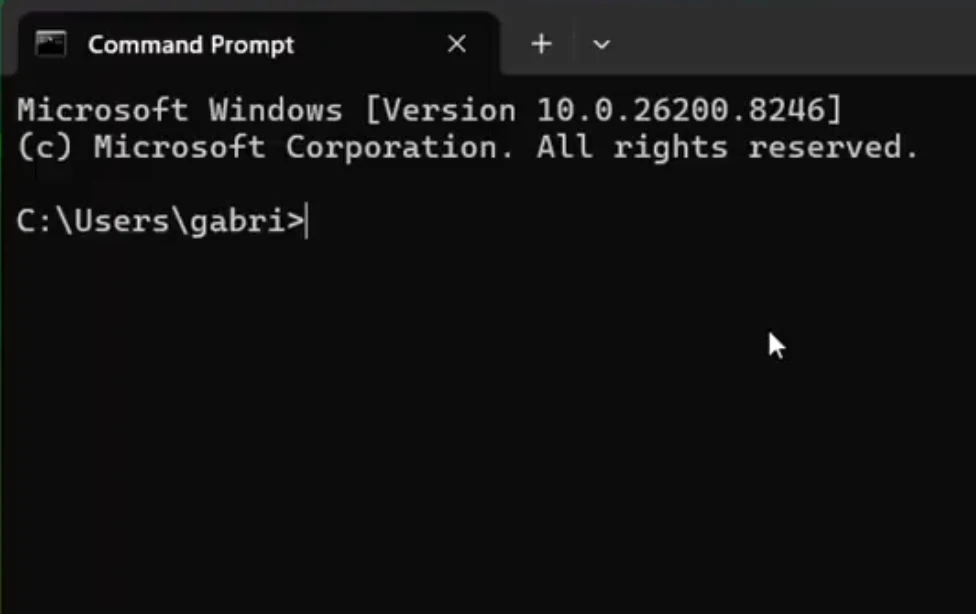 Default Command Prompt before customization.
Command Prompt does not support Oh My Posh natively. To enable custom prompts in CMD, we'll use Clink, which adds modern shell enhancements and Oh My Posh support.
- Open the Command prompt and type:
winget install clink - Restart the Command Prompt and use these commands:
clink config prompt use oh-my-posh
clink set ohmyposh.theme %POSH_THEMES_PATH%\<theme>.omp.json
Alternatively:
- Go to the official site of Clink: https://chrisant996.github.io/clink/
- Download the Installer (EXE).
- Run the Clink installer and complete the setup wizard.
The same configuration as on PowerShell will apply in the CMD also.
Step 8 - Designing the Terminal
Open the Terminal, then Settings
- For Transparent title bar: Appearance -> Turn on
Use acrylic material in the tab row - For a Transparent background:
- Defaults -> Appearance -> Set
Background Transparencyto somewhere in between 40% and 90% (Recommended: 90%) - Turn on
Enable Acrylic Materialfor a glassmorphic background design
- Defaults -> Appearance -> Set
Once it's changed, save the changes. The terminal will be glassmorphic once you made the titlebar and background transparent
 Final result with Oh My Posh, Nerd Fonts, Clink, custom colors, and transparency enabled.
Optionally - Neofetch-style Information box
Install fastfetch on Windows 11:
winget install fastfetchAlternatively:
- Go to the Official GitHub repo of fastfetch: https://github.com/fastfetch-cli/fastfetch
- Open the Releases section
- Download the
amd64.zipfile (oraarch64.zipif you use ARM64) and install It
Once it's installed, run:
fastfetchAnd it will show the information box similar to Neofetch.
Adding into the profile
- Open the PowerShell profile by typing:
notepad $PROFILE - Add the fastfetch command like this:
+ fastfetch oh-my-posh init pwsh -c "$env:POSH_THEMES_PATH/<theme>.omp.json" | Invoke-Expression - Or use the alternative method:
- oh-my-posh init pwsh -c "$env:POSH_THEMES_PATH/<theme>.omp.json" | Invoke-Expression + fastfetch + if($?) { + oh-my-posh init pwsh -c "$env:POSH_THEMES_PATH/<theme>.omp.json" | Invoke-Expression +} - Save the file, close Notepad, and restart PowerShell.
You'll see the information every time you start PowerShell.
Conclusion
Congratulations! Your Windows 11 Terminal now has:
- A modern prompt powered by Oh My Posh
- Beautiful icons from Nerd Fonts
- Custom color schemes
- Glassmorphic transparency effects
- Optional Fastfetch system information
Feel free to experiment with different themes, fonts, and layouts until you find a setup that matches your workflow.
Happy customizing!
FAQ
Does this work on Windows 10?
Yes, although some appearance options may differ. Check out Windows 10 Terminal Tutorial guide for a minimal approach.
Is Oh My Posh free?
Yes.
Do I need Windows Terminal?
It is highly recommended for the best experience.
Can I use CMD instead of PowerShell?
Yes, using Clink.
Does this work with Windows PowerShell 5.1 and PowerShell 7?
Yes. However, PowerShell 7 is recommended because it receives new features and improvements.
Thanks for reading! If you want more tutorials like this, check out my YouTube channel!
GitHub @ArsenTech · YouTube @ArsenTech · Patreon ArsenTech · ArsenTech's Website